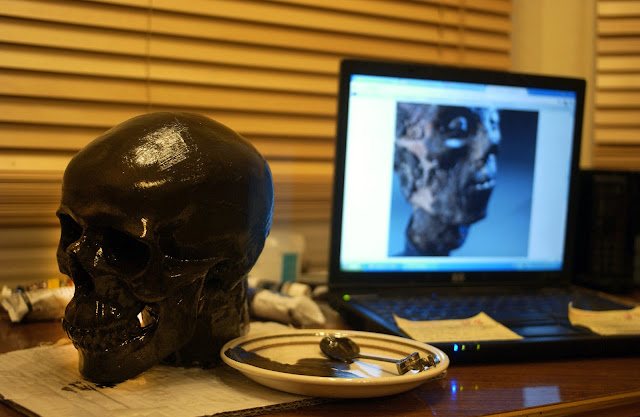
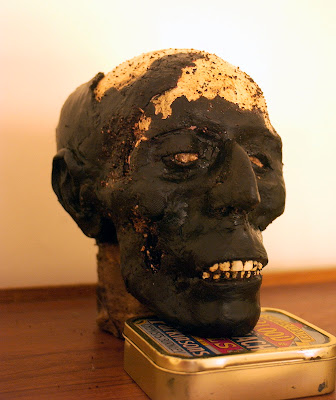
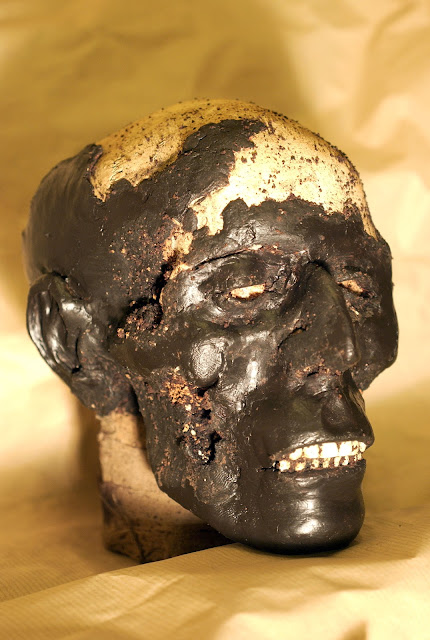
This shows you how my very first mummy's head was made... Enjoy!
The mummy's head humbly started off as a plastic skull from Urban Outfitters.
The skull was then primed in brown to get rid of the original gold paint.
During the whole process, real mummy's heads were used as inspiration to achieve the highest possible level of realism.
Once again, DAS modeling clay was used to model the ears.
The eye sockets are filled with gauze to help with the modeling.
The skull was then painted bone colour. Ground cork was added inside the eye sockets and nostrils to imitate rot.
Modeling the face was done in just a few hours. DAS can be painted directly with acrylics without any priming needed.
Frontal view of the finished head. Patina is created by dirtying up the head with soil and ground coffee.
All rights reserved. All content is copyright of Fabrice Arfi.
We specialise in high end, upcycled and vintage inspired homeware, props and bric-a-brac with a nerdy Kitsch-a-Billy twist! Oh yeah! We do cushions, lamps, tea towels, clocks and selected original vintage pieces.
Showing posts with label how to. Show all posts
Showing posts with label how to. Show all posts
Monday, 16 April 2012
My first Mummy's head!
Monday, 26 March 2012
New range of cushions!
Our latest additions!
Every cushion starts as a 2 dimensional drawing.
Wool patterns are appliqued with our stunning 1960's Singer 99K sewing machine. Our current fabric of choice is Italian lambswool.
These will be presented for the first time at Paris' next DIY Market.
Check it out here!
http://www.diy-market.fr/
All rights reserved. All content is copyright of Fabrice Arfi.
Labels:
8 ball,
chic,
Cushion,
DIY,
home,
home made,
home ware,
how to,
kitsch,
knuckleduster,
rock and roll,
Rockabilly,
wool
Monday, 5 March 2012
How to make a mummy's head
How to make a mummy's head!
Heads usually start off with a skull. This is important to achieve a high degree of realism. It also makes it an art of finding. Because the head is made by multiplying several layers of "tissue" over the skull, it is near impossible to predict what the head will end up looking like.
This skull is a vynil anatomical which was purchased on the cheap on ebay (Where else?)
It had originally been painted with horrid red and white marble effect.
After stripping the marble effect with Stypit, which turned it orange, the skull was then repainted bone colour (Titanium White+Yellow Ochre)
Ears come next.
For this, I started sketching customer's ears at Crobar (obviously with their consent... Drawing peoples ears without their consent could potentially lead to embarrassing situations!)
I used DAS to model the ears, but then switched to FIMO Ultralight for the face, hoping that it would be easier to work. This turned out to be a mistake. It you have to do it, DAS is the way to go! It is just as hard to work as Fimo, will come off and apart like Fimo, but will not crack...Unlike Fimo.
Before proceeding with the facial construction, the ears and eye sockets are filled with textiles, just like a real one. This will make building up the nose and eyelids a lot easier.
The facial construction is then operated is several phases, to allow each layer to dry before applying the next.
Painting then requires a good 4 to 5 layers, starting with the lightest to the darkest. Paint needs to be applied thinly in order to allow previous layers to come through. In this case, the fist layer was Ochre Yellow and Burnt Umber (mostly yellow) followed by Burnt Umber and Cadmium Red (mostly red) with shadows accentuated in brown (Burnt Umber and Ultramarine), plus a splotch of white here and there for good measure. The outer layer is super watered down Burnt Umber and Ultramarine.
All rights reserved. All content is copyright of Fabrice Arfi.
All rights reserved. All content is copyright of Fabrice Arfi.
 |
| Note traces of the marble effect on the back. |
 |
| It's better to draw as many ears as possible to give you the option to find the best type to suit your skull. |
 |
| Ears are fitted on and checked for alignment. |
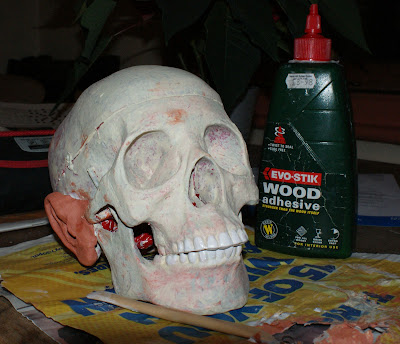 |
| Evostik probably makes the best ear glue to date. Highly recommended! |
 |
| Ears in position with nose and eye socket filed with junk textile... just like a real one! |
 |
| Phase 1 of facial construction completed. |
 |
| Phase 2. Much work is still needed on the nose and lips as well as to improve the overall texture of the skin. |
 |
| After completion of the facial construction, the whole head is primed. |
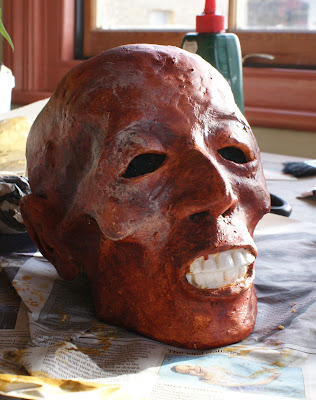 |
| Second layer of paint. Note how the first layer shows through. |
 |
| Shading over the second layer of paint. |
 |
| A few layers later and the head is pretty much finished. Note how the eyes and nostrils are filled with new textile which has to be dyed and painted. |
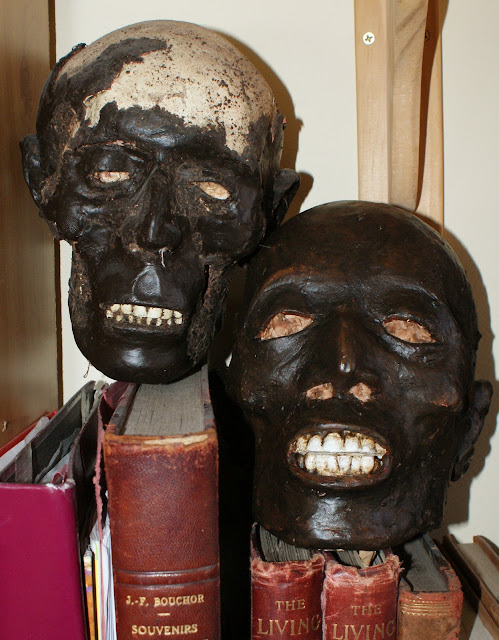 |
| Family portrait! |
Subscribe to:
Posts (Atom)


